So, I want to make some eye tutorials but then i thought, What about skin? I mean no matter how good your eye makeup is if your skin doesnt look good it wont be a 100% look.
This is a tutorial/walk through/guide of how i get my skin to look the way it does. I by NO means have perfect skin, it is quite acne prone and dry, plus old scars on my forehead and cheek. I totally sympathize and am in the same boat as those with bad skin troubles. I know how much it can take a toll on confidence and mood, when you look good you feel good!
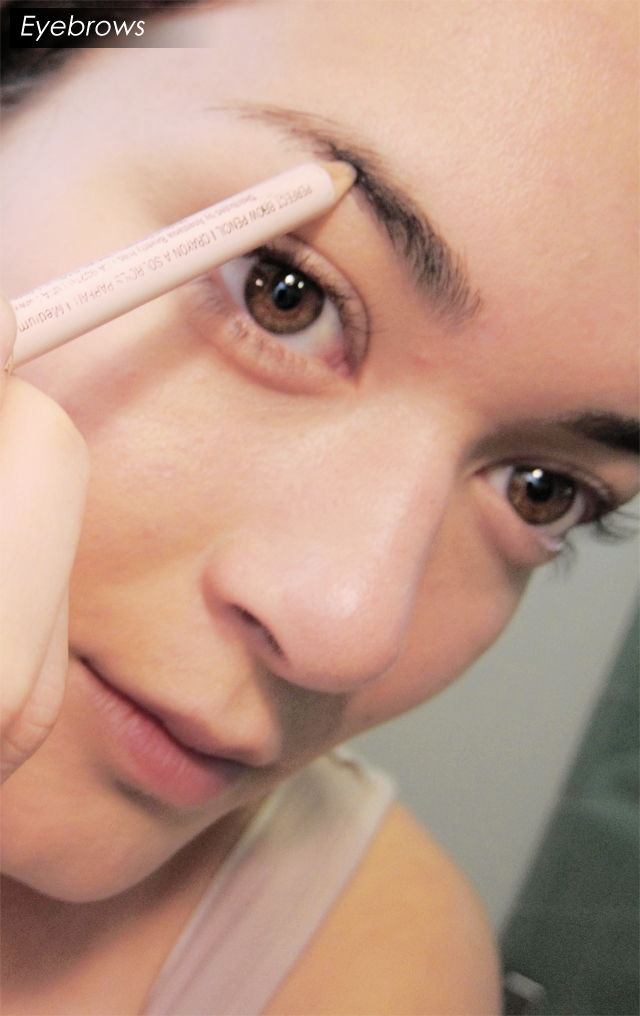
About the look: I LOVE the dewy glowing skin look, and not a big fan of matte skin. I like to use my makeup to create an illusion of a heart shaped face as well because i have a very heavy jaw line and filled in eyebrows for a very innocent appearance... LMAO i just fucking love big eyebrows.

1. Obvious scars on my face, uneven colour, lots of redness, general derpyness. On my face in this picture is just moisturizer. I wasnt going out so i didnt use any Sunscreen but if i were id put it on in this step
2. Any better? LOL NOPE, MAYBE JUST LIGHTING? Here i've primed my face. I use Extra Virgin Olive Oil. Yup. Olive oil, it helps moisturizer and keep my skin dewy/satiny and create a nice base for my foundation. Like i said above i have SUPER dry skin and this helps me A LOT. Trust me, i've used Lancome and Stila and neither create a finish like olive oil does for me.
3. A little bit better? I use The Super BB Cream+ VIP Gold mixed with a little bit of Givenchy's Photo'Perfexion Fluid Foundation in Perfect Praline(05) for a base colour. The Givenchy+bb cream combo creates a perfect colour for me and its a very light sheer cover to begin with. Its important to layer makeup not put it all on at once.
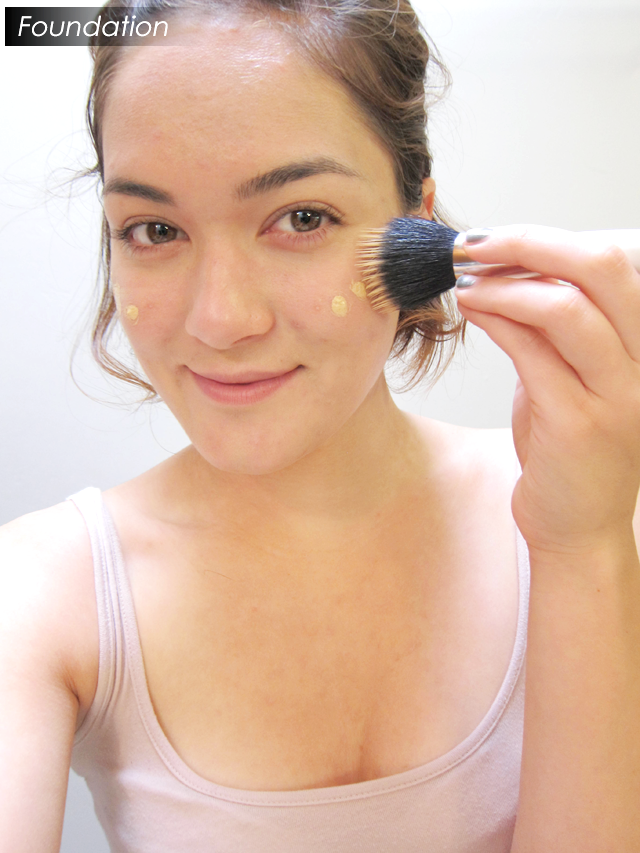
4. Foundation! I use M.A.C Studio Sculpt SPF 15 Foundation in NC 25. What i do is portion some out on my fingers warm it on them and then dab it on my face, then grab a stippling brush and blend it in. It is medium coverage and gel based so it looks quite light on the skin. You can get a higher coverage but then you get the "MAC skin" and i dont want that, i want dewy.
5. Concealer time! I put it under my eyes, around my nose, and any blemishes/scars. Under my eye i use a more salmon toned concealer for the bluish tint and slightly lighter. In the picture is Amazing cosmetics- Amazing Concealer in Medium Beige mixed with maybelline Mineral powder Concealer in Ivory. For the rest of my face i used Diorskin Nude Skin Perfecting Hydrating Concealer in 002 Beige. If i have some "heavy Duty" concealing to do i use MAC Studio Sculpt Concealer in NC 30.. I have on clue why i didnt get 25. But, whatever it works. I like to apply concealer to my face with a concealing brush and then buff it out using Sephoras Mineral Powder Brush
6. I didnt show this but powder. I use Make Up For Ever's HD Microfinish Powder, applied with Sephoras Pro Powder Brush #50 using a very light hand.
8. Probably one of the most hideous pictures in the bunch for some reason. Here I'm highlighting. Around the eyes, inner corner, nose, forehead, and cupids bow. These are all areas i want to stand out and bring light to. I used Benefit Cosmetics High Beam, but i Also use TokiDoki's Powder Highlight on occasion
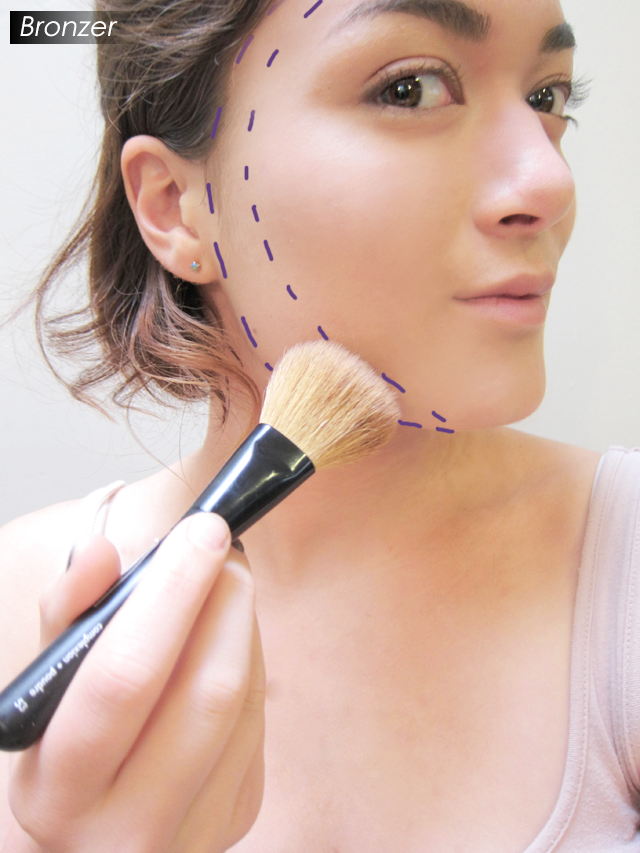
9. Bronzer. As i Said above i have a pretty heavy jaw so i like to use bronzer to create fake shadows for a more feminine jaw line. The Purple lines show where i place my bronzer. I like to apply it in small circular motions i feel it creates a more natural look.
10. Blush time. I like to Apply my blush in the purple area in a circular motion. I feel it gives my face a lift and gives elongates my face which is good because my face is square.
I generally use MAC Surf Baby! Limited Edition My Paradise Blush.
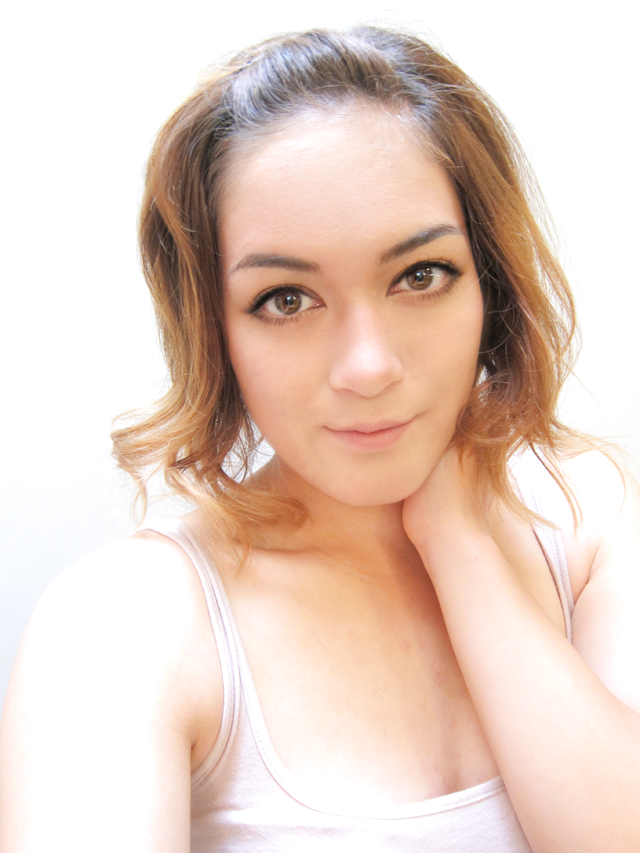
AND YOURE DONE! Just Put on your eye makeup a small bit of Photoshop and youre done!
I hope this helps someone. I dont expect it to work for everyone but its what works for me. I would also like to appologize for the decline in photo quality. My camera was dying and so i was trying to just get the photo and turn it off as quick as i could. But it makes for ugly photos :/
This was good practice for me, I realize what i need to do better with next time. Good luck and feel free to ask question. I wont be able to do any updates during the weekend im going on a short vacation but i will come back with photos!
Love,
Nikki


Thanks for this tutorial, it's really useful! :)
ReplyDeleteI'm very glad :)
ReplyDeletethis is amazing~! thanks !
ReplyDeleteIm so glad! Youre welcome
ReplyDeleteThanks for the tutorial! You look really pretty in the last photo :D
ReplyDeletehttp://captainbubblegum.blogspot.com/
Thank you so much I hope it helps
ReplyDeleteYou should do more photo tutorials! This was really helpful to me. You are amazing!
ReplyDeleteAww thank you so much <3
ReplyDeleteI'm very glad it could help you!
I do have a few eye makeup tutorials coming up i hope you will enjoy them :)
Wow, what a difference! I always feel like my facial structure isn't ideal for looking "cute" but I think I'll try again after seeing this :)
ReplyDeleteI think any girl can be cute! i hope you try your best, if thats what you want :)
ReplyDeletefirstly i wanna say that you're amazing girl!For me, I need a lot of courage to show my imperfect face to public. You could say that I'm not confidence with myself without make-up. I agree with you saying that "you look good you feel good" coz that's where my confidence came from. I had the same problem with you but maybe worse on acne popping on my cheek casually..
ReplyDeletebut anyway, you are really good on make-up!it so perfect on every steps and finish look is amazing! anyway, i'm a new reader~love your reviews ^_^